| Weight | 2.789591 kg |
|---|---|
| Dimensions | 12 × 12 cm |
| Unit Count | 1.0 Sq Ft |
| Item Thickness | 0.06 Inches |
| Coverage | 10 square feet |
| Item Dimensions L x W | 12"L x 12"W |
| Item Weight | 6.15 Pounds |
| Pattern | Tiles |
| Trim Color | Square Edge |
| Item Shape | Square |
| Finish Types | White, Vinyl |
| Style Name | Modern |
| Color | Gray |
| ASIN | B0CBCTDS14 |
| UPC | 091212770539 |
| Brand Name | FloorPops |
| Recommended Uses For Product | Floor |
| Installation Type | Peel and Stick |
| Water Resistance Level | Water Resistant |
| Special Features | Easy maintenance and durable checkerboard marble-inspired design with water resistance |
| Form Factor | Square |
| Material Type | Vinyl, Polyvinyl Chloride (PVC), Polymer |
| Manufacturer | FloorPops |
Floors and Tiles, Uncategorised
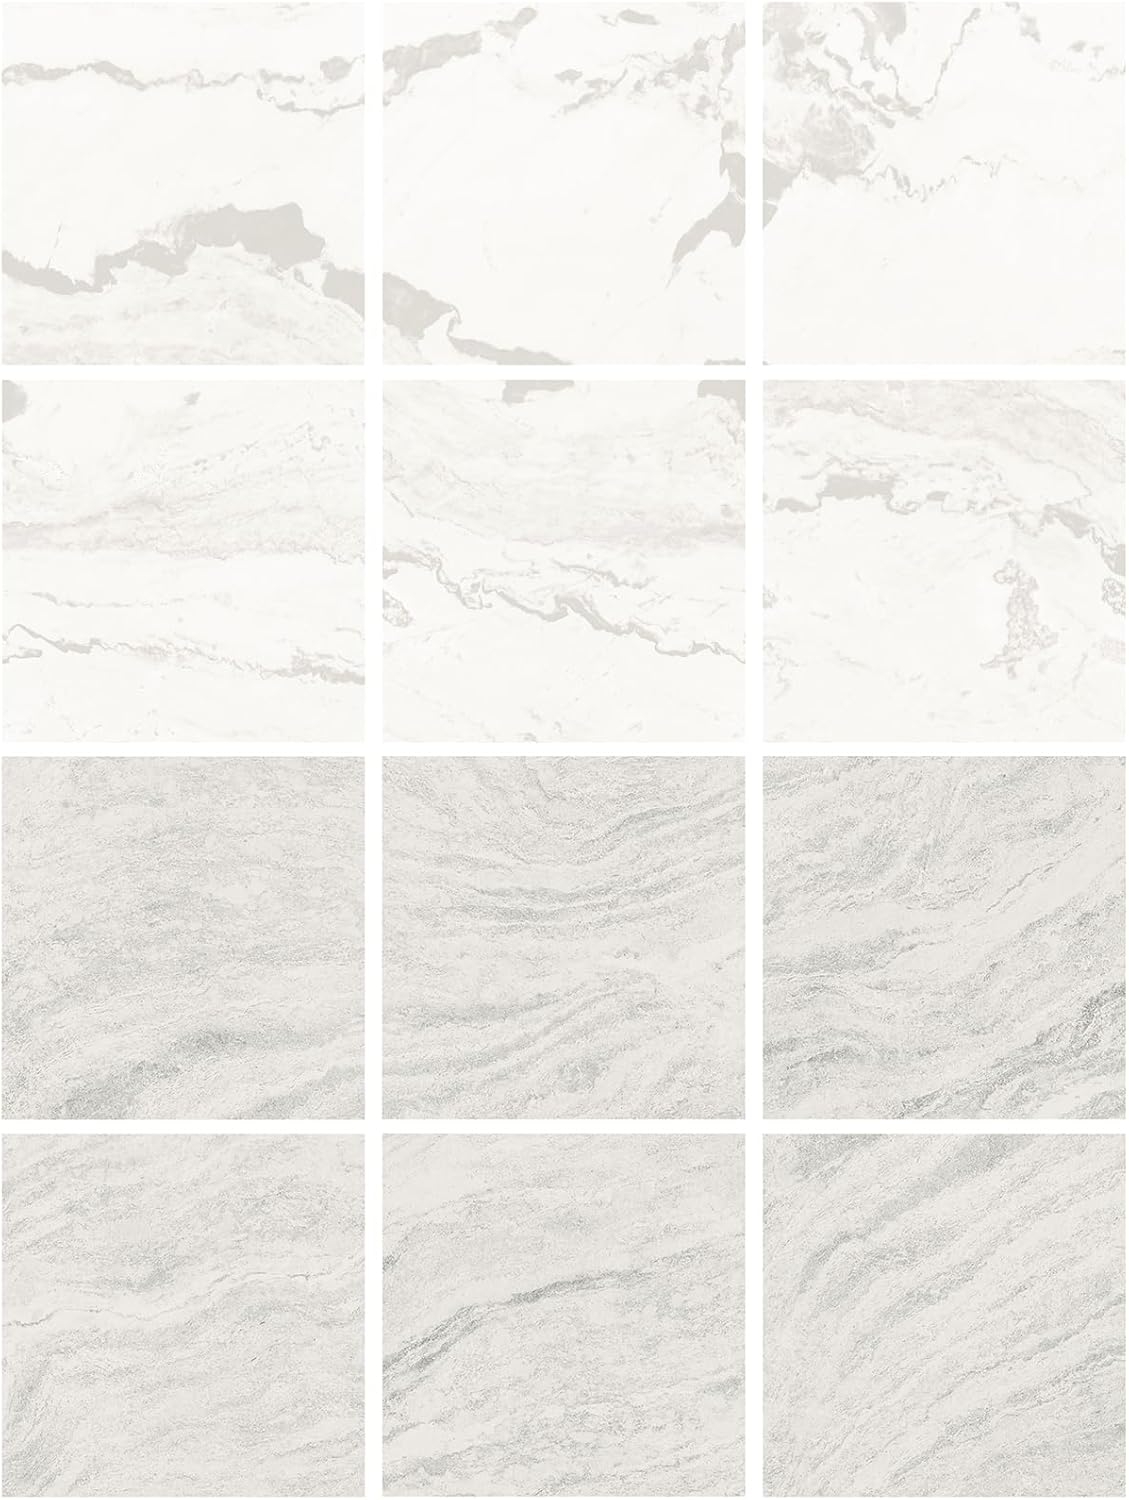
FloorPops x Chris Loves Julia 12-in by 12-in Bonneville Grey & White Marble Peel & Stick Floor Tiles, FP4421
Original price was: $20.99.$17.38Current price is: $17.38.
- Marble inspired peel and stick floor tiles with a checkerboard styling
- Peel and stick to apply
- Easy installation – no grout or special tools needed
- Water resistant and washable
- Virgin Vinyl material with a textured low lustre finish and permanent adhesive makes tiles durable
- One package contains 10 tiles that each measure .06-in in depth
- Each tile measures 12 x 12 inches
Availability: 15 in stock


Elzora –
I used the Chris Loves Julia Floor Pops tile for my kitchen renovation and overall, I’m satisfied with the product. The peel and stick feature makes it easy to install, and I appreciate that I can lift the tiles up if I make a mistake before the adhesive sets.The marble look adds some dimension to the room and provides a nice aesthetic touch. The coloring is good, and it has noticeably improved the look of my kitchen.Since I’m using it in a rental, I was cautious about how it would hold up, but so far, it’s been durable. If you’re looking for an easy way to upgrade your space, this tile is definitely worth considering.
V Welt –
This was my first time to use any kind of floor tiles and this stuff is AMAZING. This is the basement bathroom and oh boy did the tiles change the whole look of the bathroom. They are easy to score with a box cutter or cut with scissors. I messed up A LOT and even had to buy 3 more boxes ( it took me 7 boxes to do this small room but I probably wasted a whole box on not knowing how to measure properly) it looks professional and after a lot of knee pain and caulking the edges you can’t see a crack anywhere. It’s easy to line up and sticks great. I don’t have any peeling. I want to do this in my other bathrooms. It’s like walking on linoleum but looks like tile.
Treefr0g –
In my experience, gray and white checkered flooring is extremely rare. And it was the perfect choice for my gray, black, and white bathroom. I ordered 2 boxes, and then layed them out in 2 different patterns to see which I liked. For my small bath, I liked the standard layout best. From there, I re-layed them again, this time paying attention to the patterns and angles on each tile. I wanted to avoid an obvious “repeat pattern”, and make it look totally random. When I was happy with the layout, I numbered the tiles with masking tape numbers. (One picture shows this)I started against the left wall and worked my way out and across as per the instructions. The hardest part was around the toilet. I decided to make a template out of printer paper, which worked wonderfully to cut the tiles to fit almost perfectly. I cut one spot too much, but caulk covered it.The tiles are VERY sticky, so care must be taken not to stick them anywhere by mistake!! They can’t be moved without ruining the tile. I used a small hand roller to secure each tile. It took me about a day and a half to finich the floor, tile and caulking. The tile is easily cut with a razor knife or a heavy duty scissors. Save any small pieces until the floor is finished. They can come in handy sometimes!These were layed over discolored linoleum flooring, which was washed and dried prior to laying the tiles.I couldn’t be happier with the outcome!! It makes a HUGE difference in the look of the bathroom. I’m very pleased with the quality of the tiles, and the ease of installation. Awesome product and color.
Bella –
I was pleasantly surprised by the quality of this peel-and-stick tile flooring! It has a nice, sturdy feel that closely mimics real tile. The adhesive is strong, and once it’s in place, it stays put. The overall look is impressive and has really elevated the room.However, it does take a bit of patience to get the edges lined up perfectly. If you rush, you might end up with small gaps or misaligned patterns. But once you get the hang of it, the result is worth the effort. Overall, I’m very happy with the product and would recommend it to anyone looking for an affordable flooring upgrade!
Brianna –
These floors are so gorgeous, everyone asks where I got them. They were so easy to install, and easy to cut for awkward areas like around the doorframe. I used these in our laundry room which is the entrance from our garage, and they clean very easily when dirt gets tracked in. They don’t seem slippery when wet either. I’m debating putting these in our bathrooms until we can afford a full scale renovation.
Ashley Vidal –
Absolutely lovedddd working with these tiles. No one believes they are not real tile. Great quality. Great color. Super easy to install. Will use them again.
Brandi and Brittany –
As much as I am not a fan of gray, I decided to go with these to try to Brighten my hall bath. They were extremely easy to install and even easier to cut. I have used other vinyl flooring in the past and these were much better quality! The white tiles are very white! So if you have an off-white toilet or vanity, be aware as these are going to make surrounding white materials appear more yellow. I added caulk tape to the base of my toilet for more of a finished look and am happy with the results! Total install took about 2 hours with flooring prep
Kevin V. –
I recently installed vinyl tiles in my home, and while they look aesthetically pleasing with their realistic design and texture, I’ve encountered a frustrating issue—they simply won’t stick properly. Despite following the installation instructions meticulously and ensuring the surface was clean and dry, several tiles have started to peel off or lift at the edges. This inconsistency in adhesion has been disappointing, especially considering the effort and cost involved in choosing and installing these tiles. I’m currently exploring adhesive alternatives or considering contacting customer support to resolve this issue and ensure my flooring remains both beautiful and functional in the long term.
Amazon Customer –
I was actually quite surprised by these tiles. They look like real tiles once they’re installed. I will say though, they definitely are not renter friendly. They stick VERY WELL to the floor. I put down some peel and stick wallpaper to protect our floor while they’re in place. We plan on redoing our hallway floors eventually, but having a 1 year old and both of us working full time the time just hasn’t been there. Anyways, I got these to kind of spruce up our entryway to surprise my husband while he’s out of town. They’re thin enough that our door is still able to open but thick enough to feel durable. I put spacers in and am grouting around them to help their longevity. If you’re not careful while cutting the corners can peel if knicked just right. I would say it’s definitely a budget friendly option if you just need a quick way to enhance a space. If I remember I will come back at a later date to update on how they hold up.
Annie –
Super happy and cautiously optimistic with how these turned out! They were easy to install in terms of adhesion (i installed them on top of older linoleum floor) but odd cuts like around the toilet can be pretty tricky if you don’t have a scribing tool or know how to make exact measurements like me. What worked best for me was using the backing paper as a little template, and then pushing/folding that around weird curves and using as a little pattern to work off of. The overall finished look is a great temporary facelift until we can afford real tile!